I love these little guys and think I should spread the love. They are quite easy and are soooo soft and cuddly when they are done its ridiculously difficult to give them away.
You will need:
- one stray sock (OK! so, technically, this isn't a stray since I bought a whole lot on ebay just for this purpose, but go with me here)
- some fleece for the foot pads and the underside of the ears (a really small bit will do, no larger than an A5 sheet is needed, and it can also be cotton or another sock or and old t-shirt etc)
- two buttons for the eyes and a third larger one for the nose
- a bit of brown felt for the eye surrounds (this is optional and can also be any other type of material you can scavenge, you could probably paint both these and the eyes on if you're worried your sewing may be dislodged by a baby etc.)
- some stuffing (I used fibre fill but really any old scraps are fine, try an old lumpy pillow for example)
- a pair of scissors
- some thread in a co-coordinating colour.
To begin get yourself a sock. I like the way that these argyl socks look on the puppy but it really can be any kind.
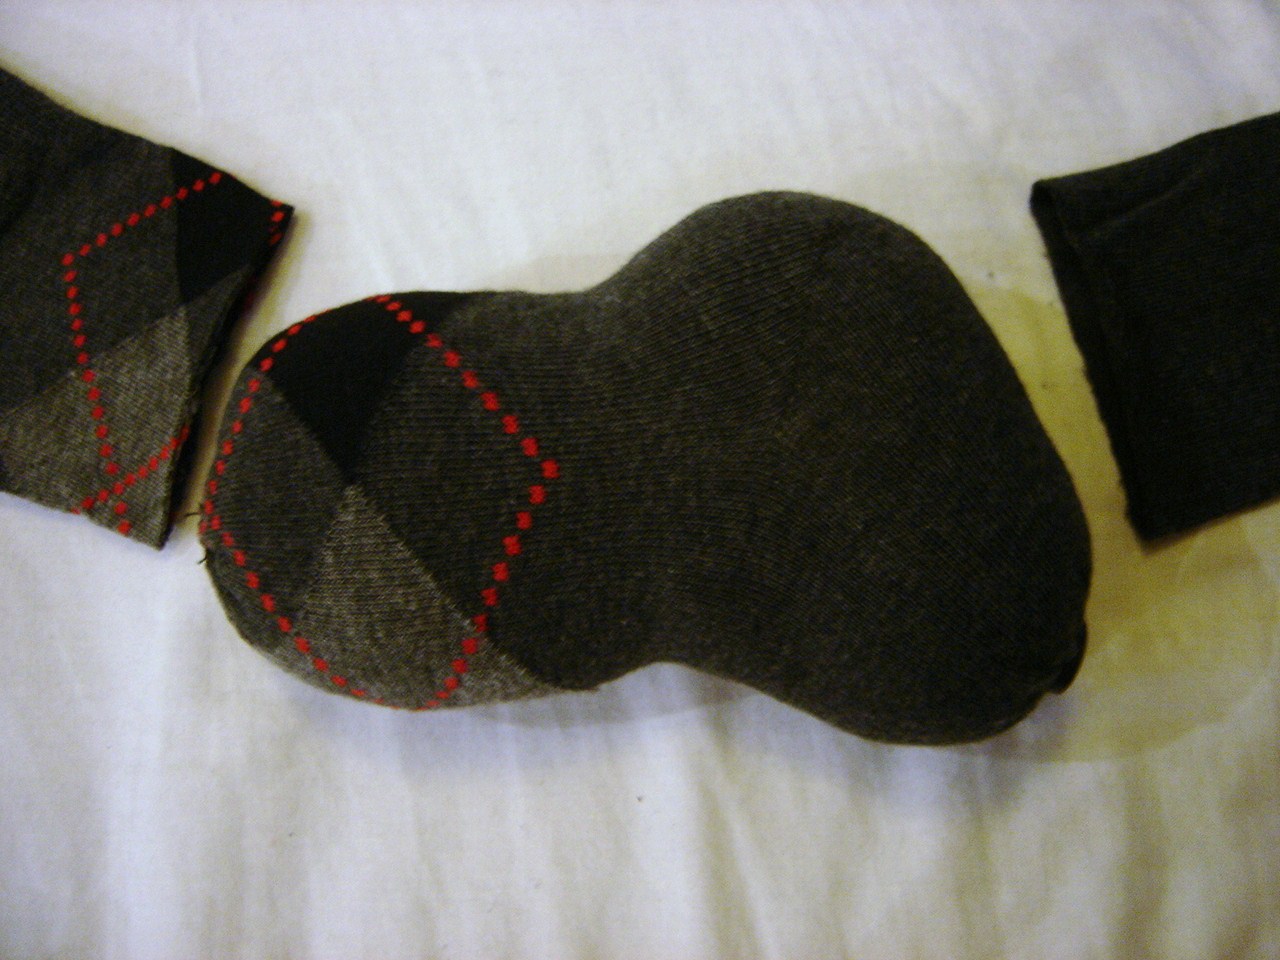
Then cut the sock like so:
The portion to the left is the legs, the middle is the body and head and the right is the tail and ears.
Take the middle section, turn inside out, and gather and sew the right most side closed (the non-stripey side in this photo).
The easiest method for me is to run some medium stitches all the way around then pull to gather and sew some stitches across the opening to secure shut. Flip right way around and secure on the larger button for the nose.
Notice how the heel of the original sock is going to be the forehead of our puppy. Stuff with filling. Because I'm using fibre fill and I don't want to make him too firm I softly sculpt the filling in my hands before I place it inside him. This way I can make three distinct balls, 1 for his nose, his forehead and his body. This is important a bit later when we create his neck.
Gather the bum end closed using the same method as above. Don't worry too much about hiding your rough edges as we'll sew his tail over this area later. Right! Thats the body done. Have a cup of tea and congratulate yourself on a job half done.
When you're ready, take the remaining bits from above and cut to look like this:
(Note, the remains are in the same order the first cuts we made above if you are uncertain). The sections marked back legs, front legs and tail are tubes and the section called ears is a pocket.
Next, cut like so
Each of the back legs and front legs is folded double. The tail is two pieces and the ears are single pieces to show the shapes.
OK-slight shortage of photo's here but do this
- Placing wrong sides together, sew along the outside of the tail leaving the bottom open, turn right way. (Note, tail can be made out of fleece too if prefer). Sew the bottom edge of the tail around the gather of the bum of the puppy, hiding the gather edges.
- Cut 2 pieces of corresponding fleece for ears. Taking a piece of fleece and a piece of sock- turn right sides together and sew leaving only a small hole for turning right way. Turn right way out and slip stitch hole closed. Put aside
- Sew down the long sides of the back and front legs to make tubes. Cut circles out of your fleece that will cap the ends of these tubes and sew 1 onto each of the four legs. To sculpt back legs, fold "foot" up to "leg" section and stitch v closed. In the photo below the yellow lines are brought together and stiched together and the red line is the crease that is folded into the leg.
The photo below shows the effect you're going for with the back legs.
Take assorted body parts and stitch to body. Like so:
To make the eyes cut a circle of felt slightly larger than your buttons and sew behind the button when attaching. I like to put one or two stitches from the eyes to the ears to permanently sculpt the forehead but I'm not sure its absolutely necessary. At this point sew a row of medium stitches right around the neck and gather slightly to add definition between the head and the body.
And that's it! Love your puppy and look forward to stray socks in the future!
(P.S. Don't feel like sewing?
Click here to buy them in the Little Black Teapot Shop )
Featured on
 Update:
Some lovely people sent me photo's of their versions of this project. View it at
Single Sock Dog Update.
Happy crafting!