So here is a project that is supposed to be super quick and easy to satisfy a need. What need? Well! I like to buy the larger packs of snack etc because it's cheaper than lots of single helpings. However, these packs are not very easy to handle- trying to reseal a large pack of biscuits with an elastic band in a moving car on a road trip is not fun! The second need is very simple. If you give me a new packet of biscuits in a car I won't stop and will eat them all! This way I can portion out only a few and car trips can cease being a weight-gain fest...
These bags are easy to squeeze into the small spaces left when we've crammed the car for holiday and are wipe clean (but can be turned inside out and really washed if required). They also satisfy me eco-conscience because I'm not constantly buying plastic bags and containers.
I made some of these for an expectant mum and they went down really well! She has plans to use them for damp flannels to wipe dirty faces, sterilized pacifiers etc.
To begin:
We will need
- Fabric- 1 window piece 20cm (8inches) by 24cm (9 and a half inches) and 1 back piece 20cm (8inches) by 20cm (8inches).
- Clear plastic 2 pieces to the same dimensions as the fabric. (A note: I had the plastic left over from a clear plastic table cloth protector but you can buy this type of plastic in smaller amounts too. If you're willing to sacrifice the display window you can even fuse some plastic bags together to create the lining)
- Hook and loop tape (velcro) about 8cm (3inches)
- Bias binding (this can be avoided if you serge/overlock the edges instead)
- Scissors
- Thread
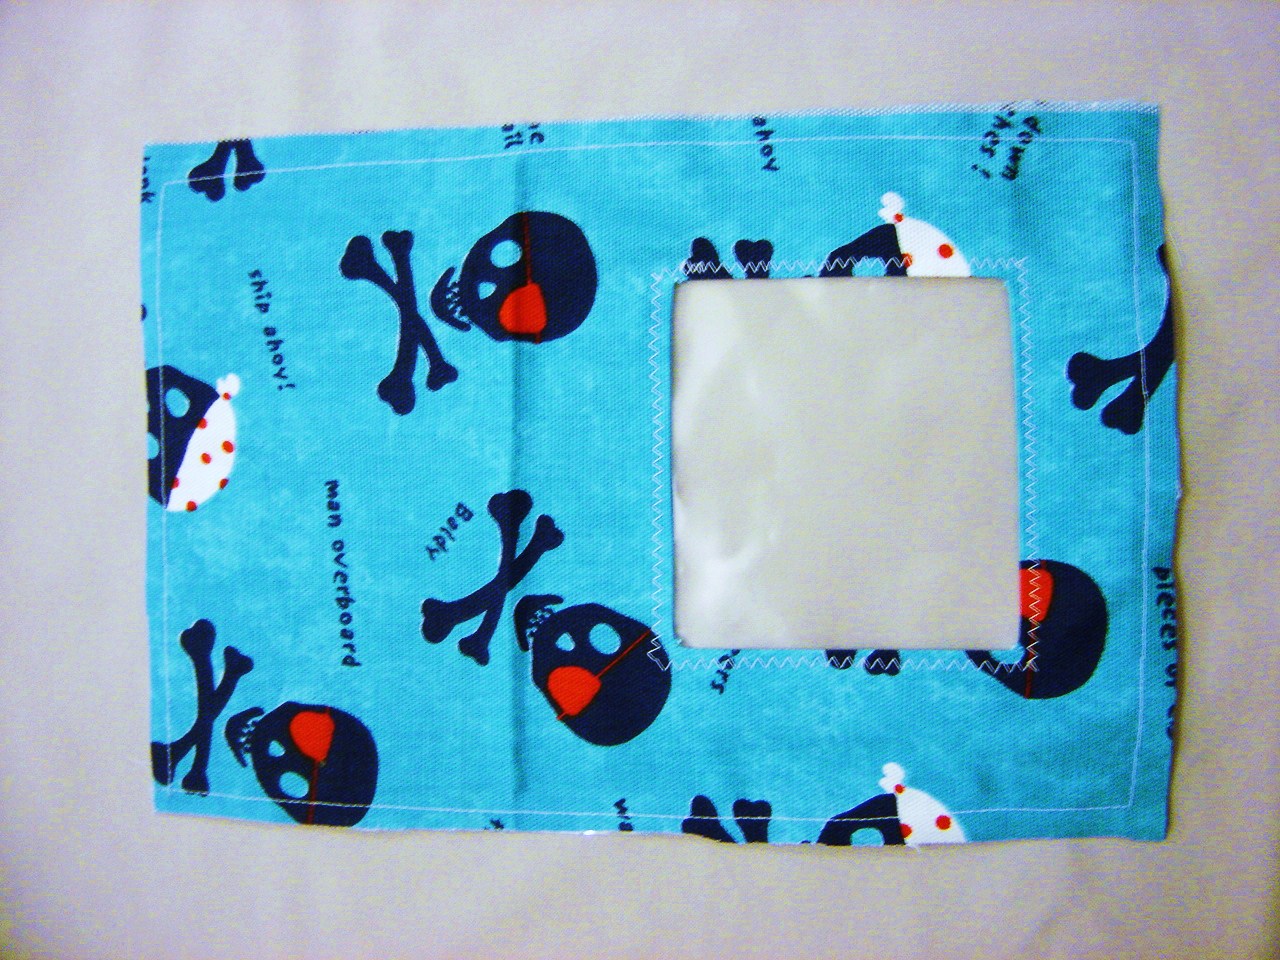
First, let's cut the window. Take the larger piece and cut a hole in the bottom half of about 8x8cm (3x3inches). Try and centre the window with and equal amount of space on the sides and the bottom. NOTE: Do not do like I did and get so excited about cutting the window that I cut it so the pattern is facing the wrong way! Doh! now my skull pirates are upside down :(
Next cut a 1.5cm (half inch) diagonal at the corners of your window like in the photo below:
At this point you could iron the folds inwards - but this project is DO EASY. So it's not necessary if you don't want to crack out the iron and speed and instantaneous gratification are more your thing!
Here's is a close up of the corners for clarity:
Next, sew the smaller back fabric piece to it's corresponding plastic backing with the right side of the fabric facing away from the plastic. It can be helpful to sew with the fabric side on your feed dogs (the little feet that move the fabric forward under your presser foot.) The plastic can get stuck on these whereas I found the plastic slid happily under my presser foot.
Again- this project is about speed and ease. Don't worry if it's not too straight (see below), I include a chop off your mistakes step!
Now, on one of the short 20cm (8inch) sides fold the fabric-plastic sandwich over twice to make a finished edge. Like this:
On the same edge, sew one of the pieces of velcro:
That's the small back piece done! tea time!
OK. Now take the larger front fabric piece and sew to it's plastic counterpart with the right side of the fabric facing away from the plastic. Once this is done it is easy to fold back the window flaps under the fabric outer and sew down (I used a zigzag stitch).
Close up:
The inside now looks like this:
Take the small back piece and the front piece and sew together with wrong (plastic) sides facing. See the yellow stitching below. Remember the top of the back piece will take extra strain at the seams so sew further than the edge.
Your bag should now look something like this:
Trim off the pesky not-lining-up bits! This also makes adding the binding easier since it removes the bulk inside the binding's fold.
Sew around the whole outside with the binding. There are many tutorials online for sewing on the binding (from the easy fold in half, set machine to massive zigzag and go for it! to the sew one side then the other. Do whichever suits you)
At this point sew on the other bit of velcro to the plastic side, on the flap of the front piece.
That's it! Admire your work
Fill with treats (optional: munch treats immediately after sewing bag!)
Make more!
Leave a comment below and tell me how you used your bag or point me to photo's of yours!